
If your Windows Terminal looks like a plain black box, you’re not alone. By default, it’s functional but not visually appealing. The good news? You can transform it into a modern, stylish, and productivity-focused terminal with just a few steps.
In this guide, you’ll learn how to:
- Add beautiful themes
- Enable transparency effects
- Install Nerd Fonts for icons
- Use Oh My Posh for advanced styling
1. Requirements (What You Need First)
Before customizing, make sure you have Windows Terminal installed (Windows 11 usually has it pre-installed). If not, you can download it from the Microsoft Store or the Official GitHub.
Also ensure you have Winget (App Installer) installed. Search “App Installer†in Microsoft Store if needed.
2. Enable Acrylic Transparency
This gives your terminal a modern glass-like look.
Steps:
- Open Windows Terminal
- Click the down arrow (Ë…) next to tabs and select Settings
- Go to Appearance
- Enable: Use acrylic material in tab row
This adds a frosted glass effect at the top.
3. Add Custom Color Themes
Windows Terminal supports many themes, but you can add better ones.
Option 1: Use Built-in Themes
- Go to Color Schemes
- Choose from available options
Option 2: Import Custom Themes (Recommended)
- Visit a theme website (like Windows Terminal Themes)
- Click Get Theme (copies JSON code)
- In Terminal Settings → Click Open JSON file
- Press Ctrl + F → search "schemes"
- Paste your theme inside the list (add a comma if needed)
- Save the file
4. Install Nerd Fonts (Very Important)
Nerd Fonts enable icons, symbols, and fancy blocks. Without them, your terminal will show broken or empty boxes.
Steps:
- Go to Nerd Fonts Downloads
- Download a font like FiraCode Nerd Font or Meslo Nerd Font
- Extract the ZIP file, select all .ttf files, right-click → Install
5. Apply Fonts in Windows Terminal
- Open Terminal Settings
- Go to Defaults → Appearance
- Change Font Face to: FiraCode NF or similar
6. Install Oh My Posh (Core Styling Tool)
Oh My Posh is what adds those colorful blocks and segments. Run the following command in your terminal:
winget install JanDeDobbeleer.OhMyPosh -s wingetAfter installation, restart your terminal.
7. Apply and Customize Themes
To preview themes, run:
get-poshthemesPopular themes include jblab_2021, paradox, and agnoster. To apply a theme temporarily, run:
oh-my-posh init pwsh --config class="text-[#F472B6] font-bold">class="text-[#4ADE80]">"$env:POSH_THEMES_PATH\jblab_2021.omp.json" | Invoke-ExpressionNote:
8. Make Changes Permanent
Without this step, your theme resets after restart. Follow these steps:
- Open profile file:
notepad $PROFILEIf an error appears, run this to create the file first:
New-Item -Path $PROFILE -Type File -Force- Paste this into the notepad:
oh-my-posh init pwsh --config "$env:POSH_THEMES_PATH\jblab_2021.omp.json" | Invoke-Expression - Save and close
9. Extra Customization Tips
- Background Opacity: Go to Appearance and set Background opacity to 70–80%.
- Background Image: Add a custom wallpaper or use your desktop background in the Appearance settings.
- Padding & Layout: Adjust spacing to improve readability.
10. Final Result
After completing all steps, your terminal will look modern and professional, show Git info and execution time, and significantly improve your workflow.
Conclusion
Customizing Windows Terminal is not just about looks—it improves your workflow, readability, and efficiency. With tools like Nerd Fonts and Oh My Posh, you can turn a basic terminal into a powerful developer workspace.
Spread the Knowledge
If you found this guide helpful, share it with your network!
You Might Also Like
Handpicked guides and fixes related to what you just read.

How to Make Windows 11 Look Better in 1 Minute (2026 Fast Guide)
Want to give your Windows 11 desktop a fresh, eye-catching look in less than a minute? Follow this simple step-by-step guide to transform your PC into something sleek and stylish—no advanced skills needed.
Read more
How to Take Better Screenshots on Windows (3 Easy Tricks)
Master Windows screenshots like a pro! Learn powerful shortcuts for custom captures, auto-saving, and even full-page scrolling screenshots in Microsoft Edge.
Read more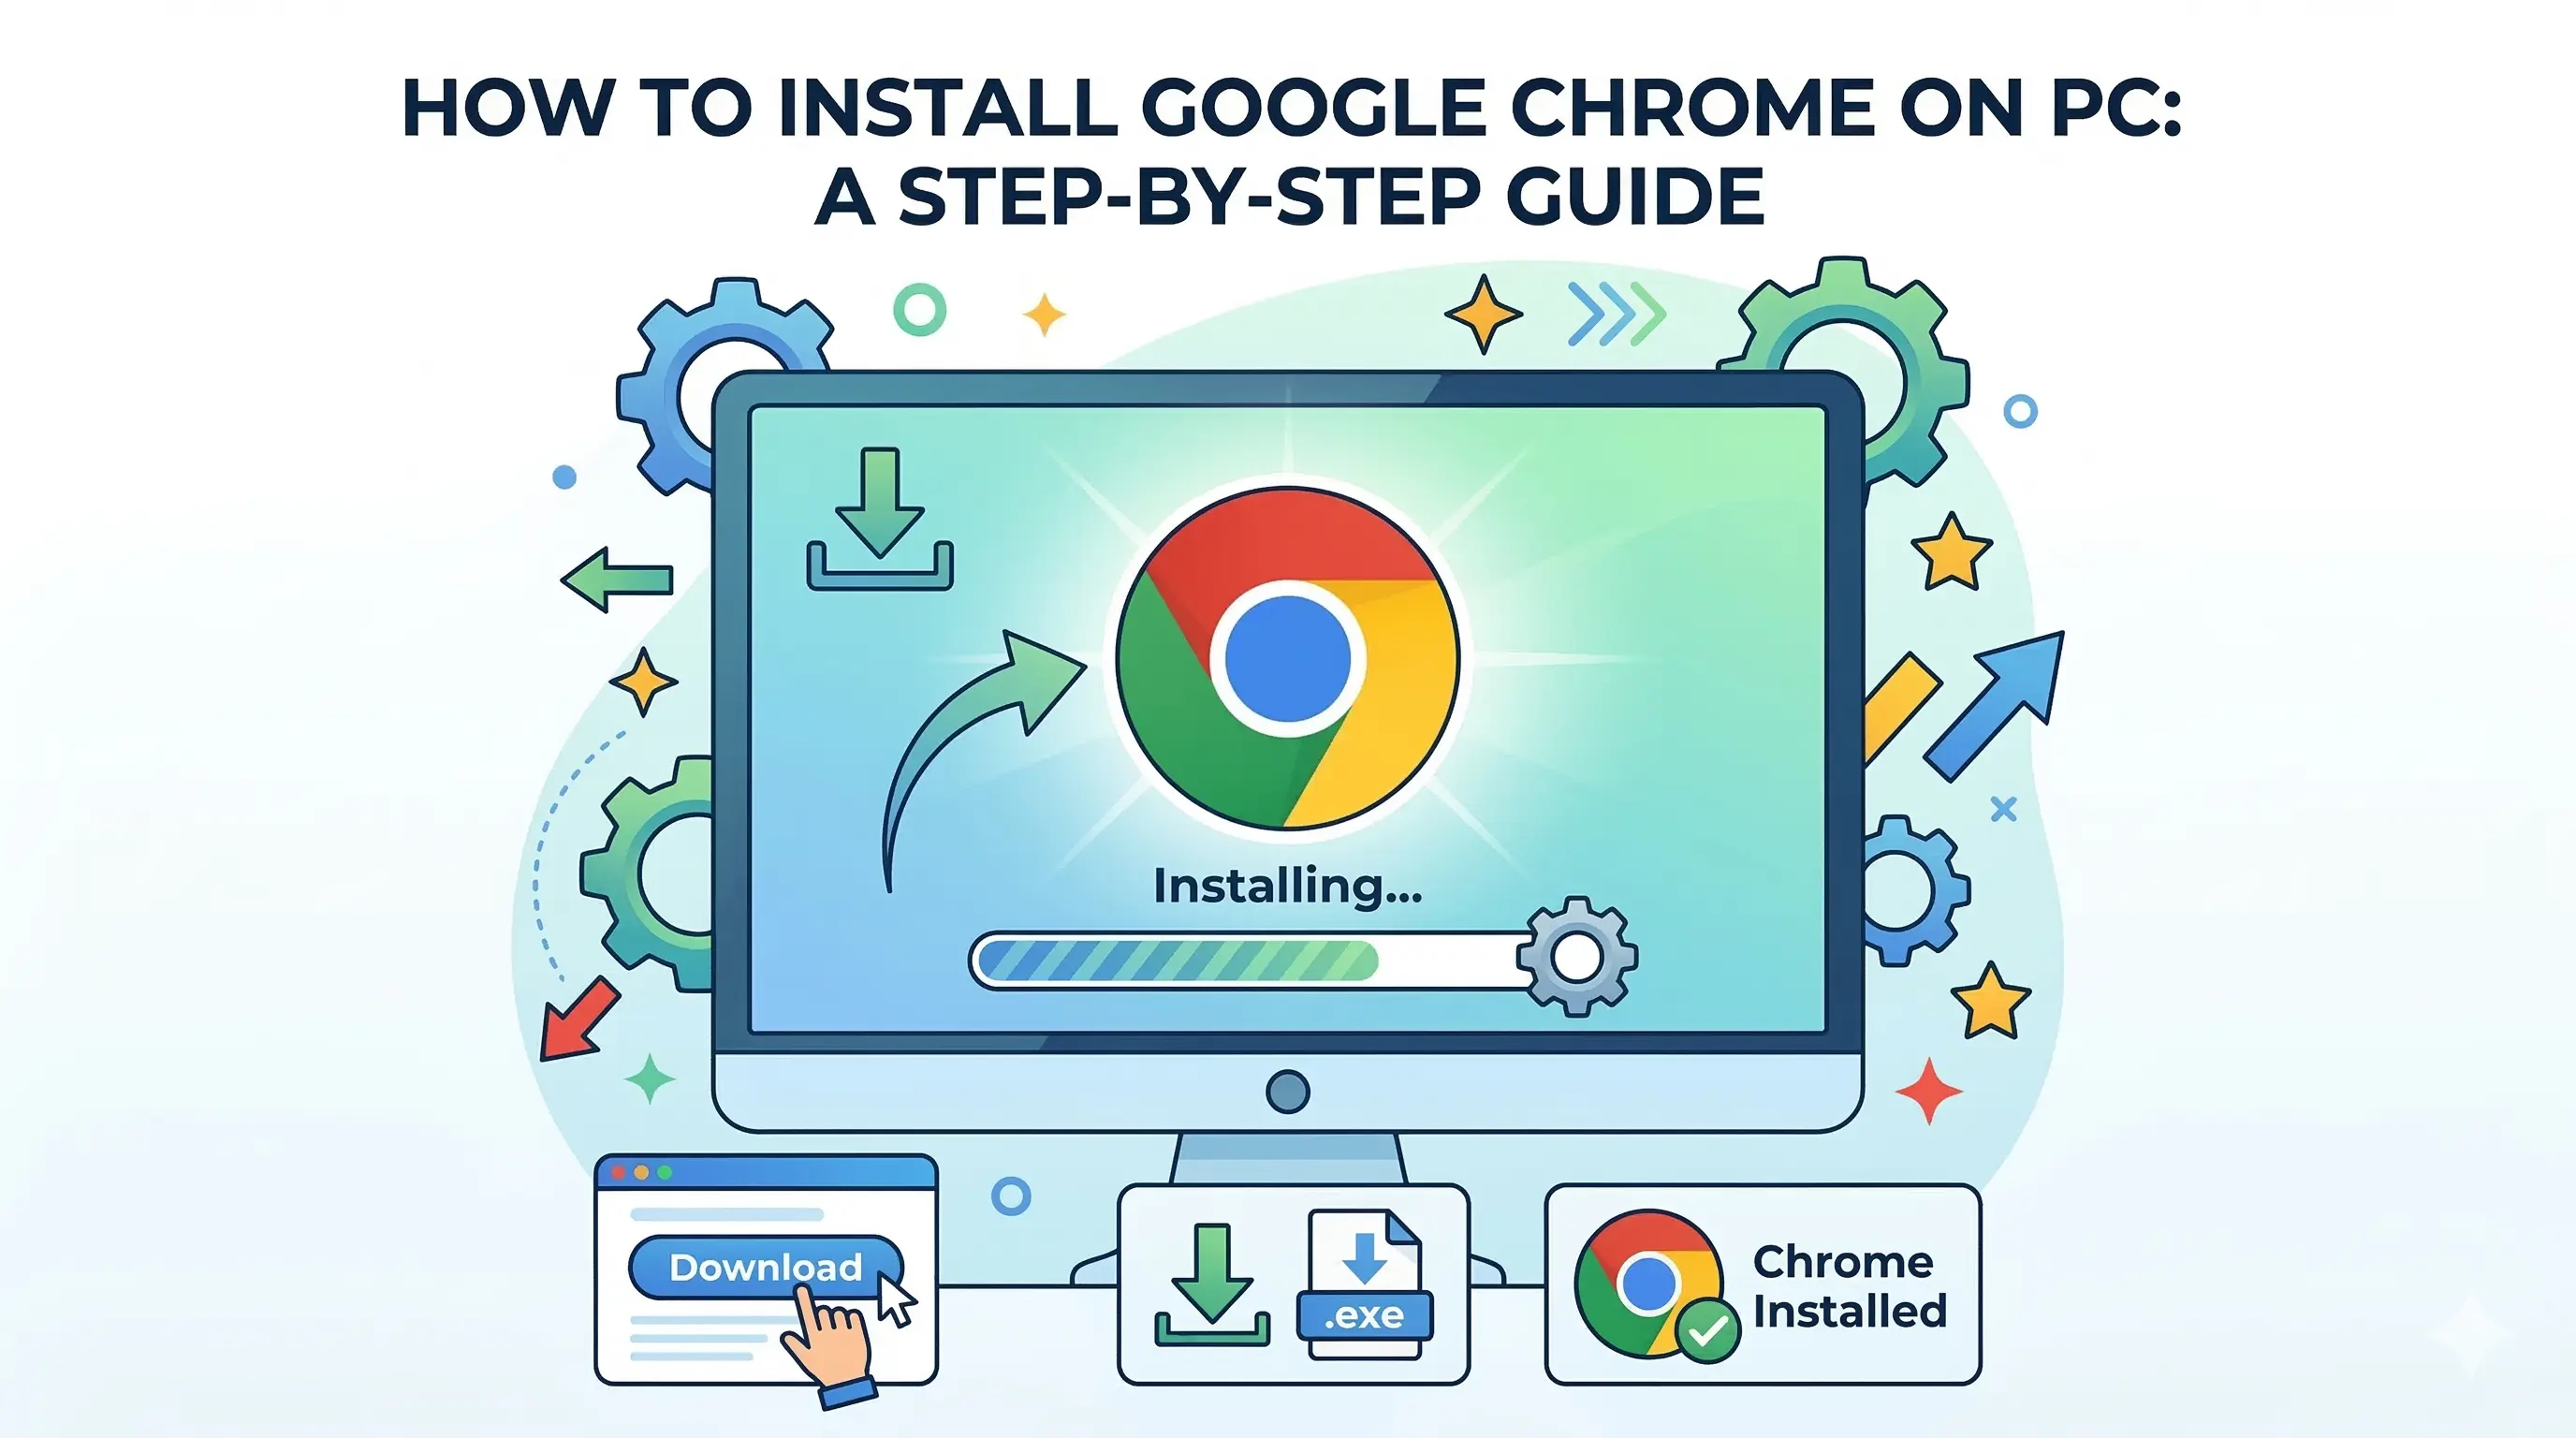
How to Install Google Chrome on PC: A Step-by-Step Guide
Get started with the world's most popular web browser. Follow our easy, step-by-step guide to download and install Google Chrome safely on your Windows or Mac PC.
Read more
How to Replace Windows with Linux (Ubuntu) Permanently: A Complete Step-by-Step Guide
A complete, beginner-friendly guide to replacing Windows with Ubuntu Linux permanently. Learn how to back up your files, extract your Windows key, disable BitLocker, configure BIOS settings, and run a clean installation.
Read more